
How to hang a quilt on the wall

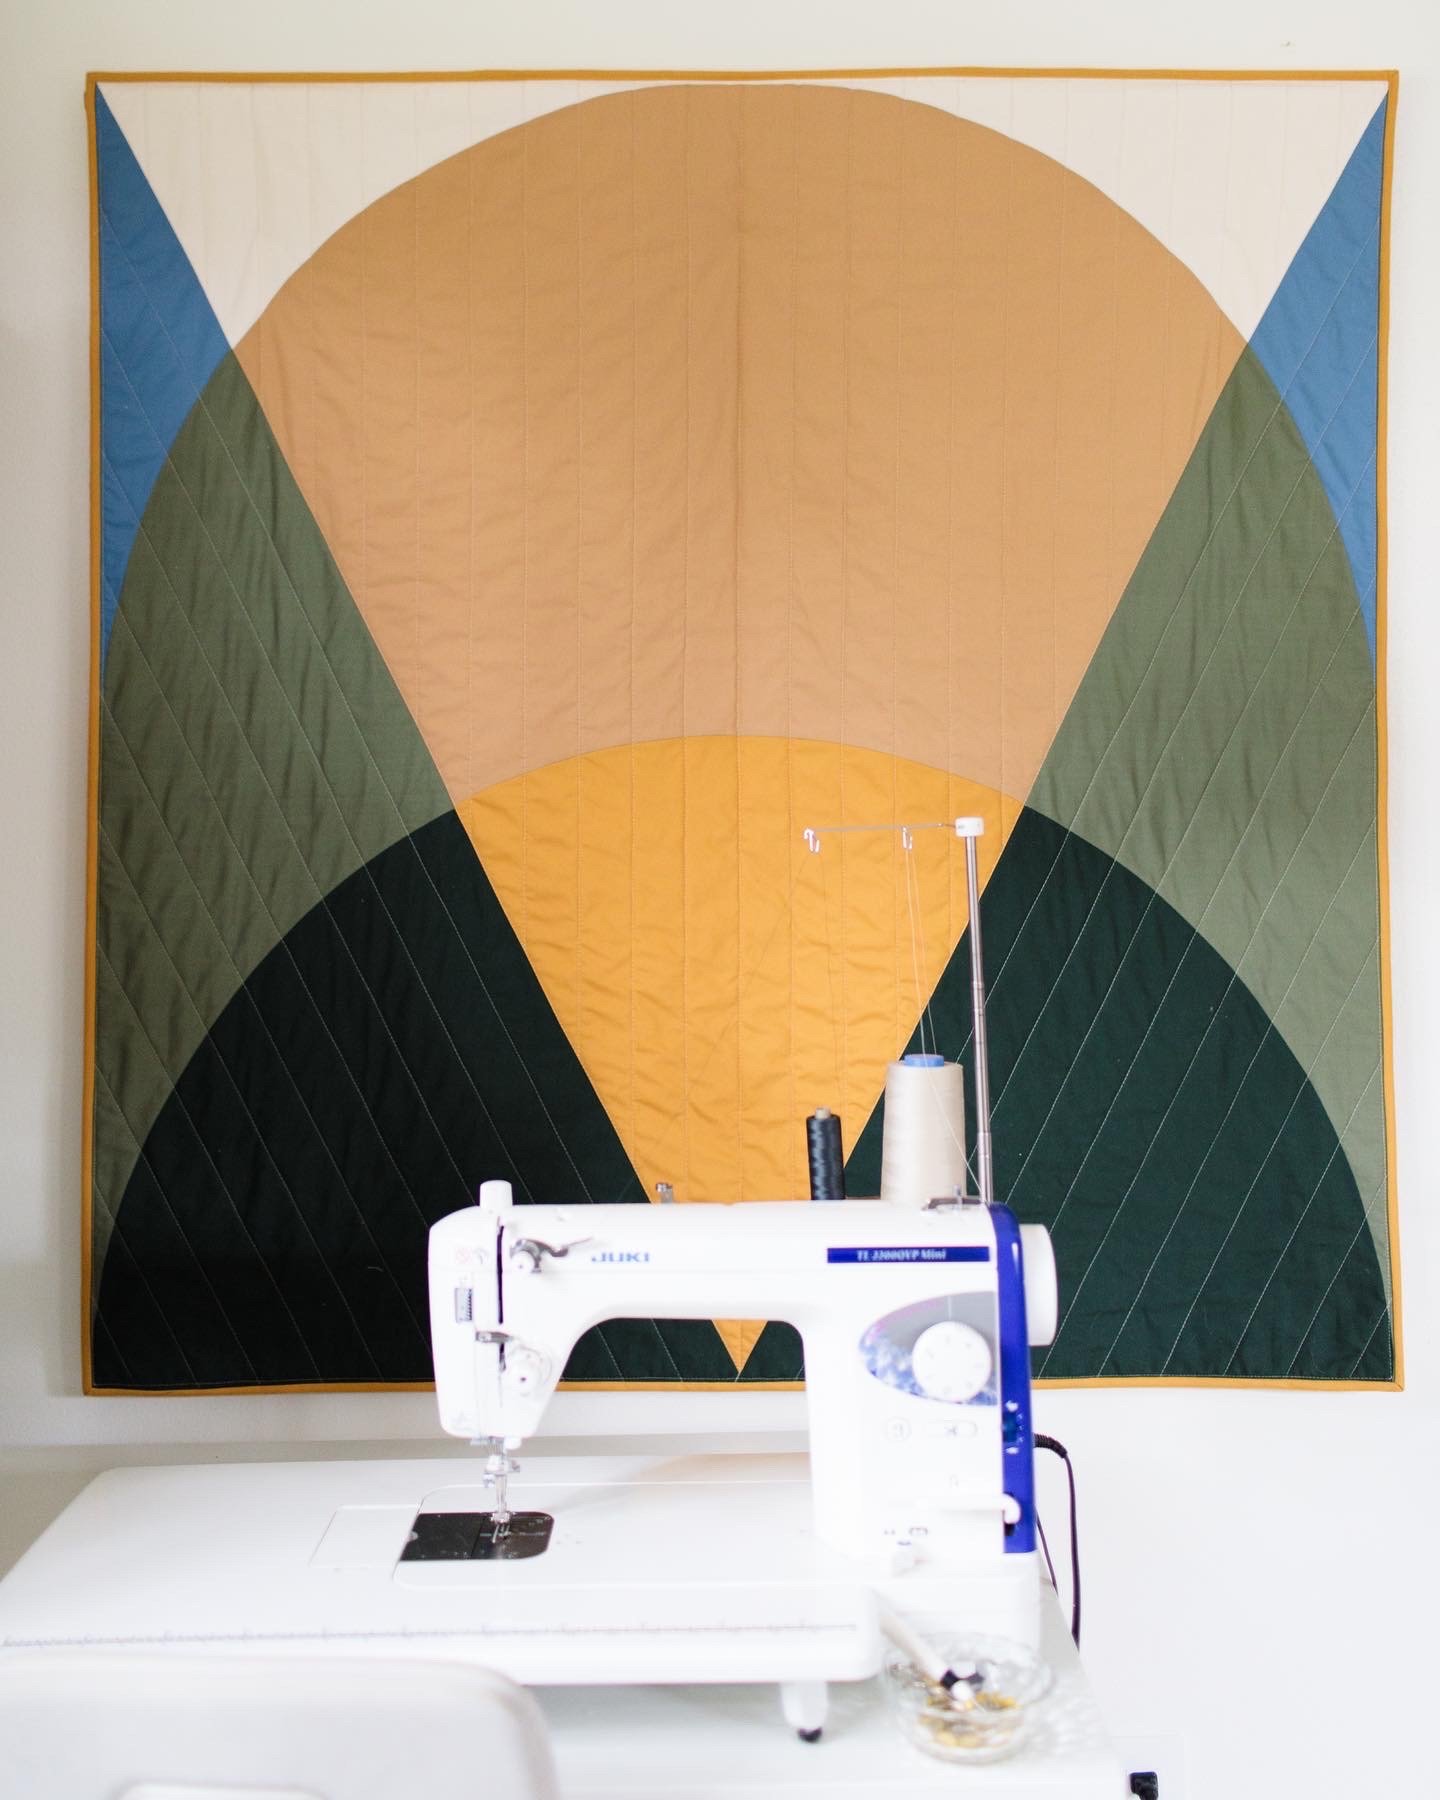
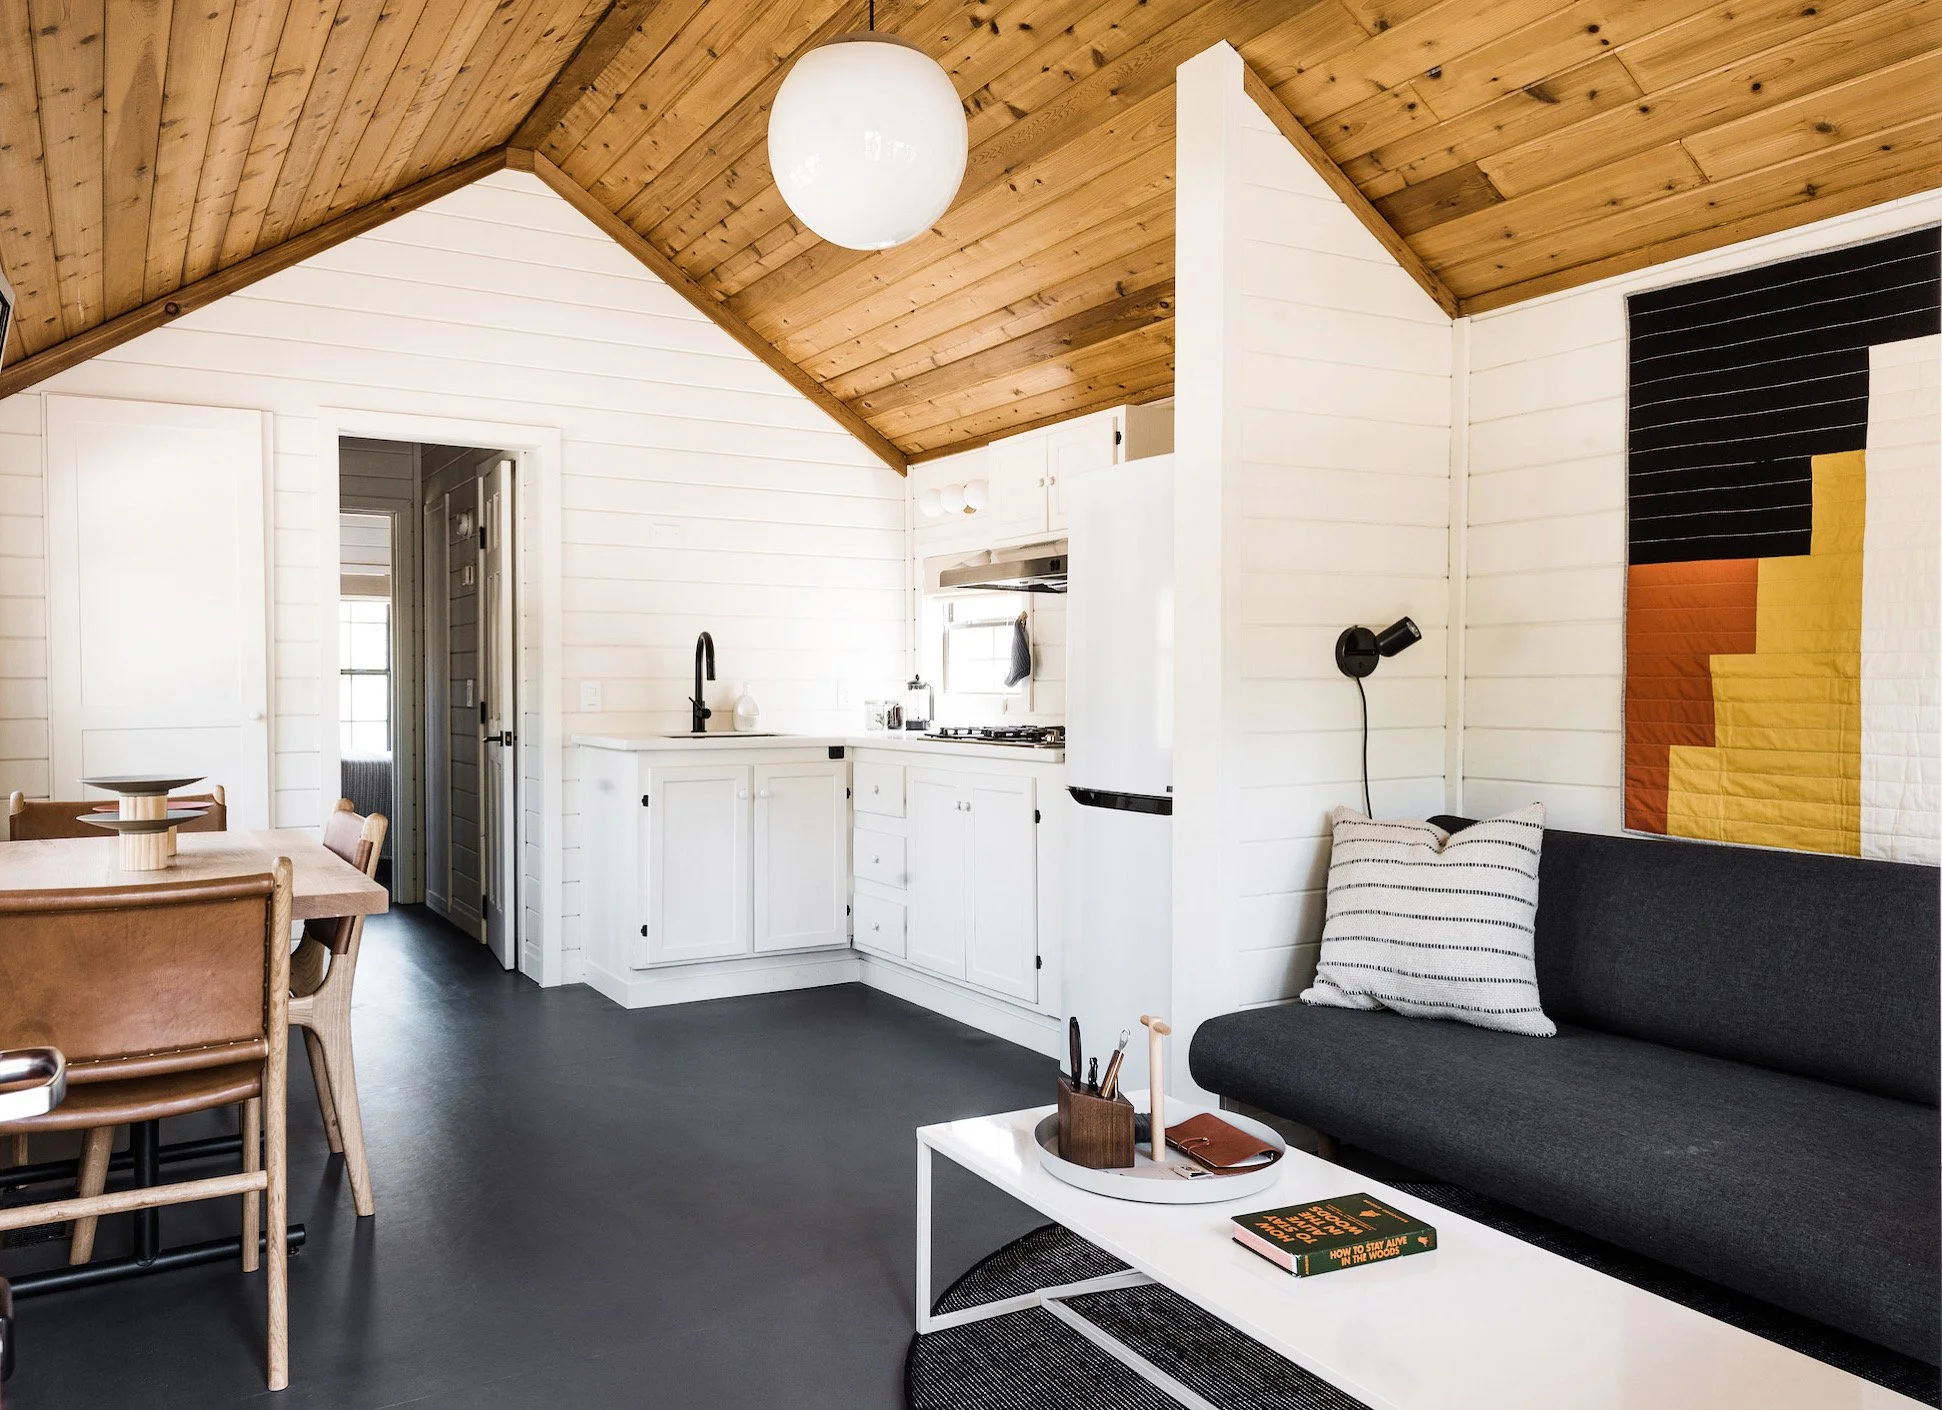
A quilt-as-art is an unexpected, textural alternative to traditional frames or canvases that doubles as a sound-dampening surface (perfect for echo-y rooms). They add a cozy feel to any space and can often be more affordable if you need to cover a large space. A wall quilt is easy to care for (just lint roll and spot clean as needed) and it can still be used as a quilt if you want to switch it up. It’s also the perfect art option for kids rooms and earthquake-prone locales.
We LOVE using quilts as wall art and always get questions about the best way to hang a quilt on the wall. There are a few options, but our favorite is the hanging sleeve + dowel method. We’ll walk you through all the materials you’ll need and take you step-by-step through the best and easiest way to hang your Vacilando quilt on the wall.
What you’ll need:
A quilt with a hanging sleeve included
The option to add a hanging sleeve is available for any Vacilando quilt
The crib size (around 40”) and throw size (around 60”) quilts are the most popular for hanging on the wall
A wooden dowel the same width or slightly wider than your quilt
We recommend a round 1” dowel, but you can also use square dowel or an extendable curtain rod
If you don’t want the dowel to show, cut it down to be an inch or two shorter than the width of the quilt
You can seal your dowel or paint it depending on the finished look you’re going for
A hammer
Two 2” nails
Painters tape
A level

STEP 1
Slide the dowel through the hanging sleeve on the backside of the quilt.

STEP 2
Hold the quilt up where you want to hang it, using the level to make sure it’s straight. Having another person there to stand back can be helpful with figuring out the right placement.

STEP 3
Use a piece of painters tape to mark the edges of the quilt on each side, right under the dowel.

STEP 4
Set the quilt down and hammer the nails into the wall, just inside the painters tape marks. Make sure the nails are sticking out of the wall at least 1”.

STEP 5
Remove the tape and rest the dowel on the nails. The nails should be hidden by the quilt.
STEP 6
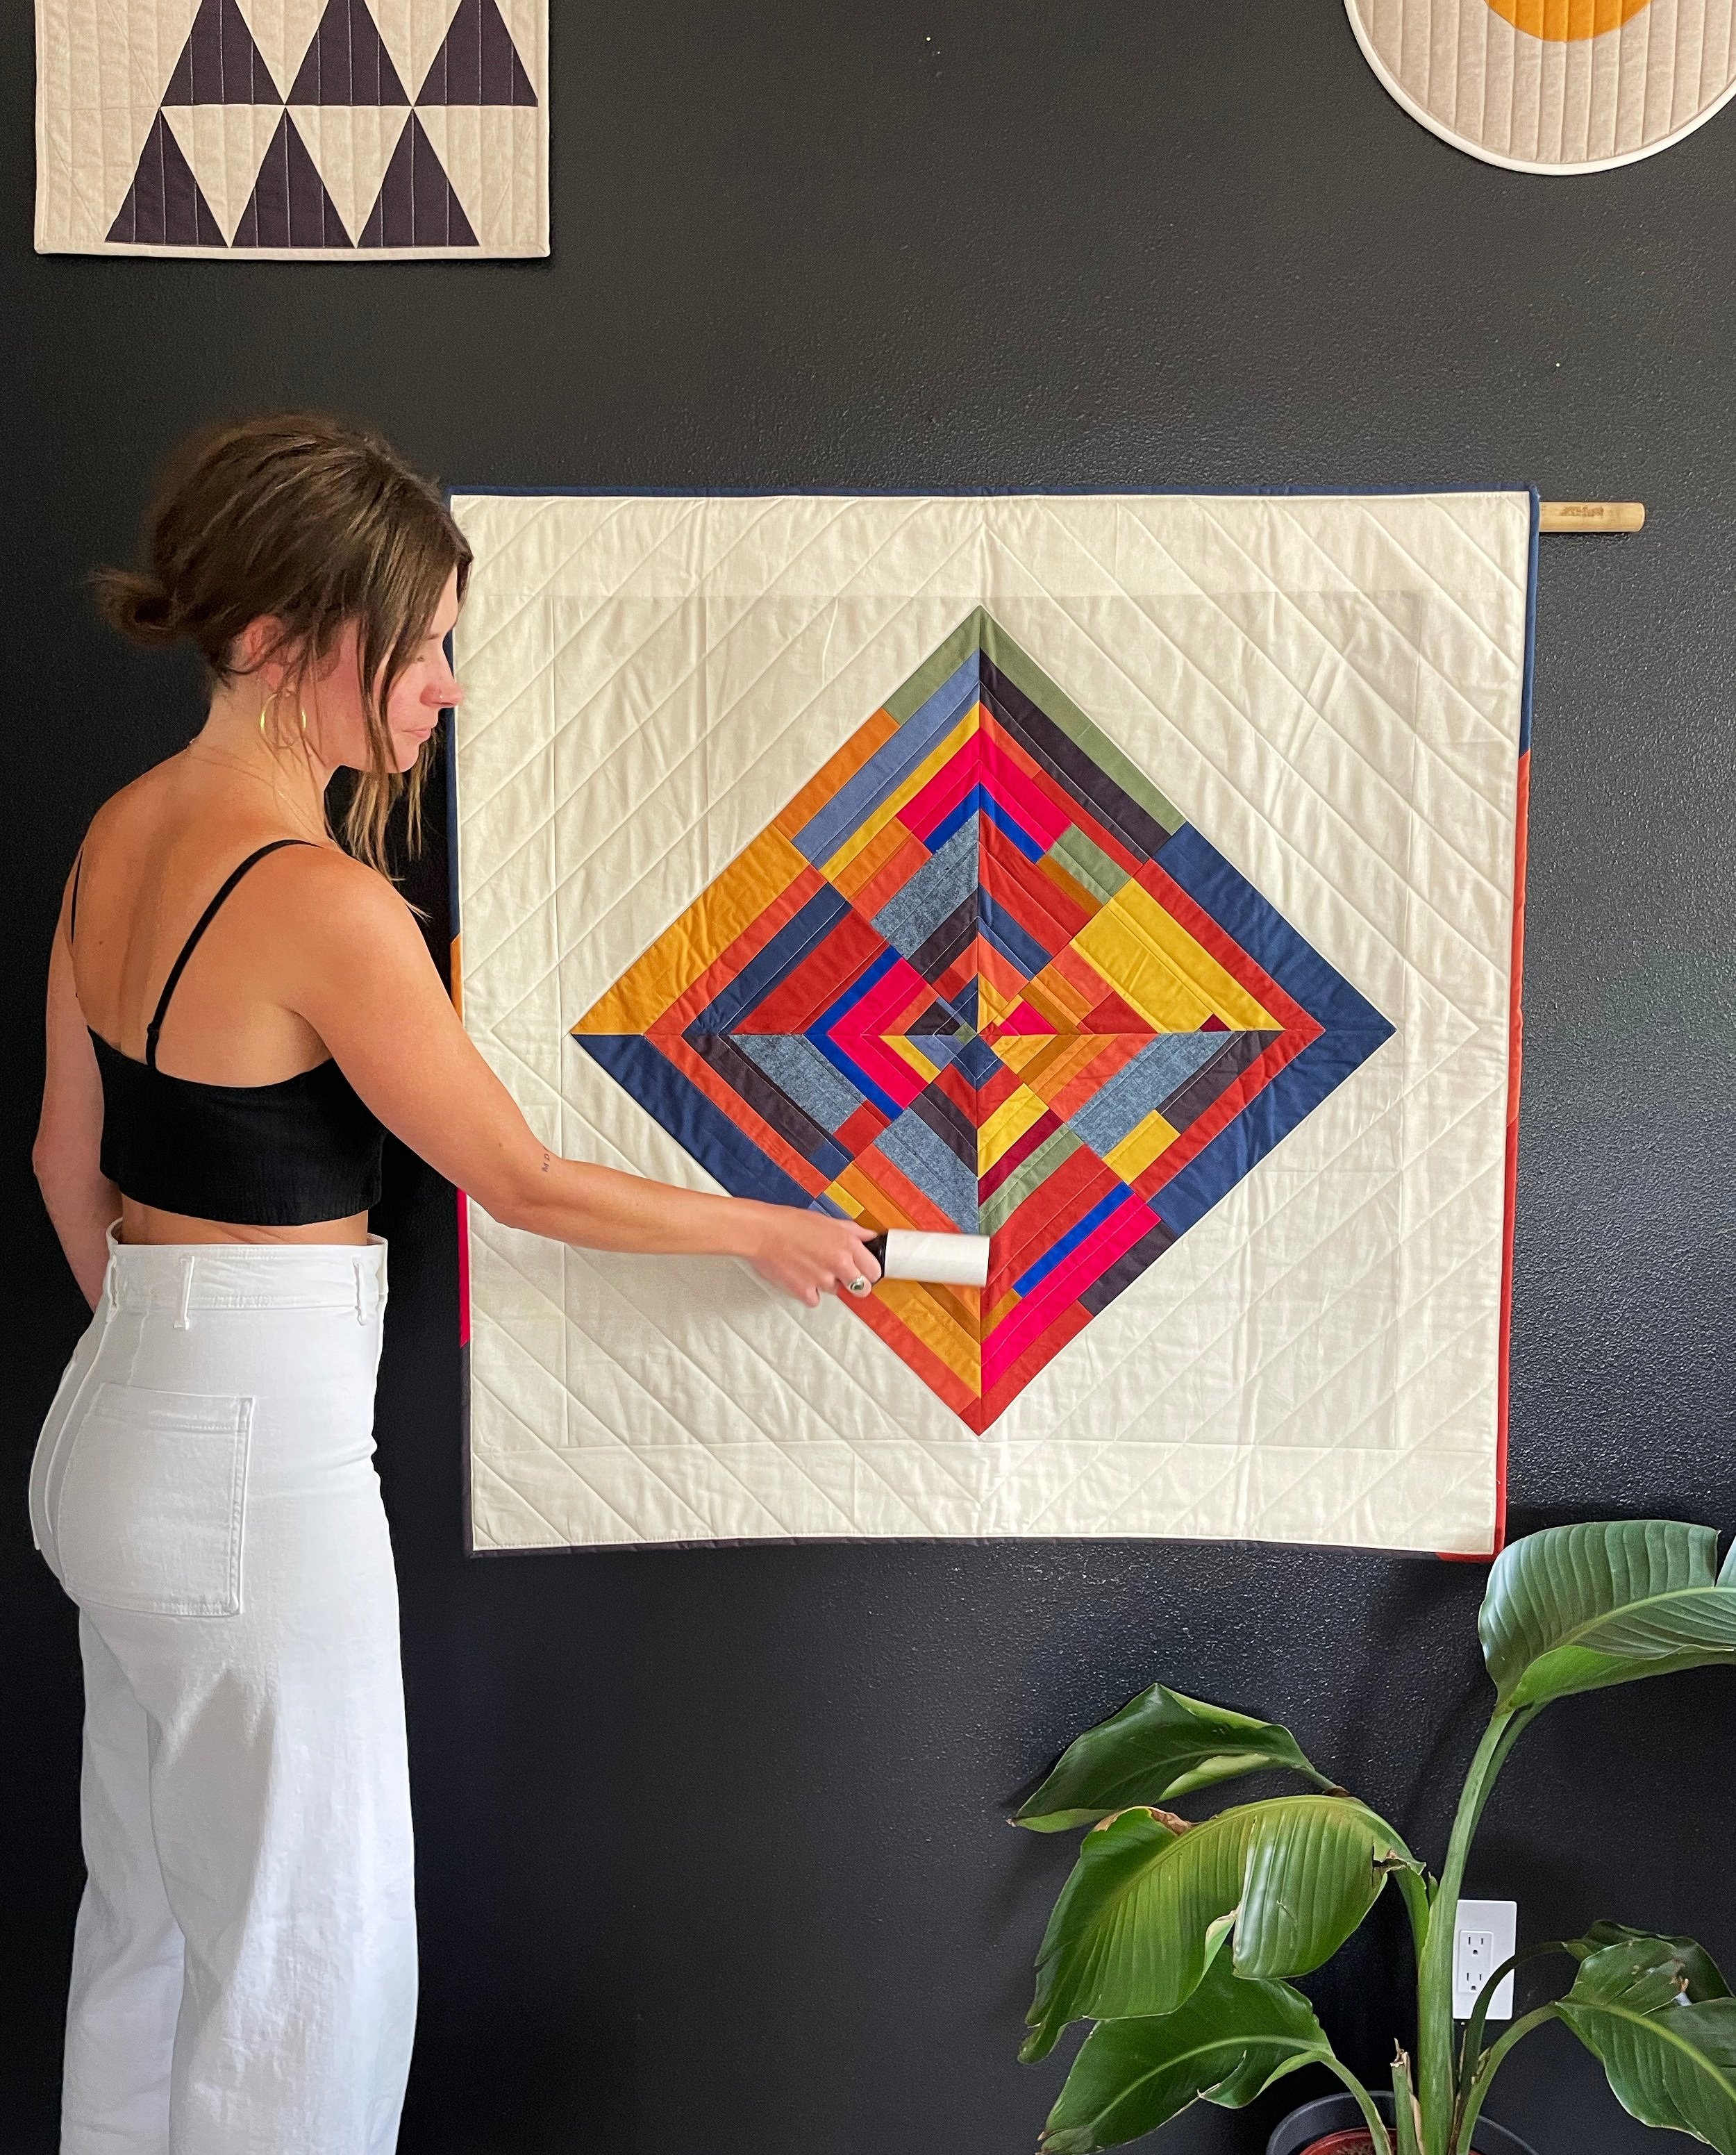
Lint roll, smooth any creases, and you’re done!
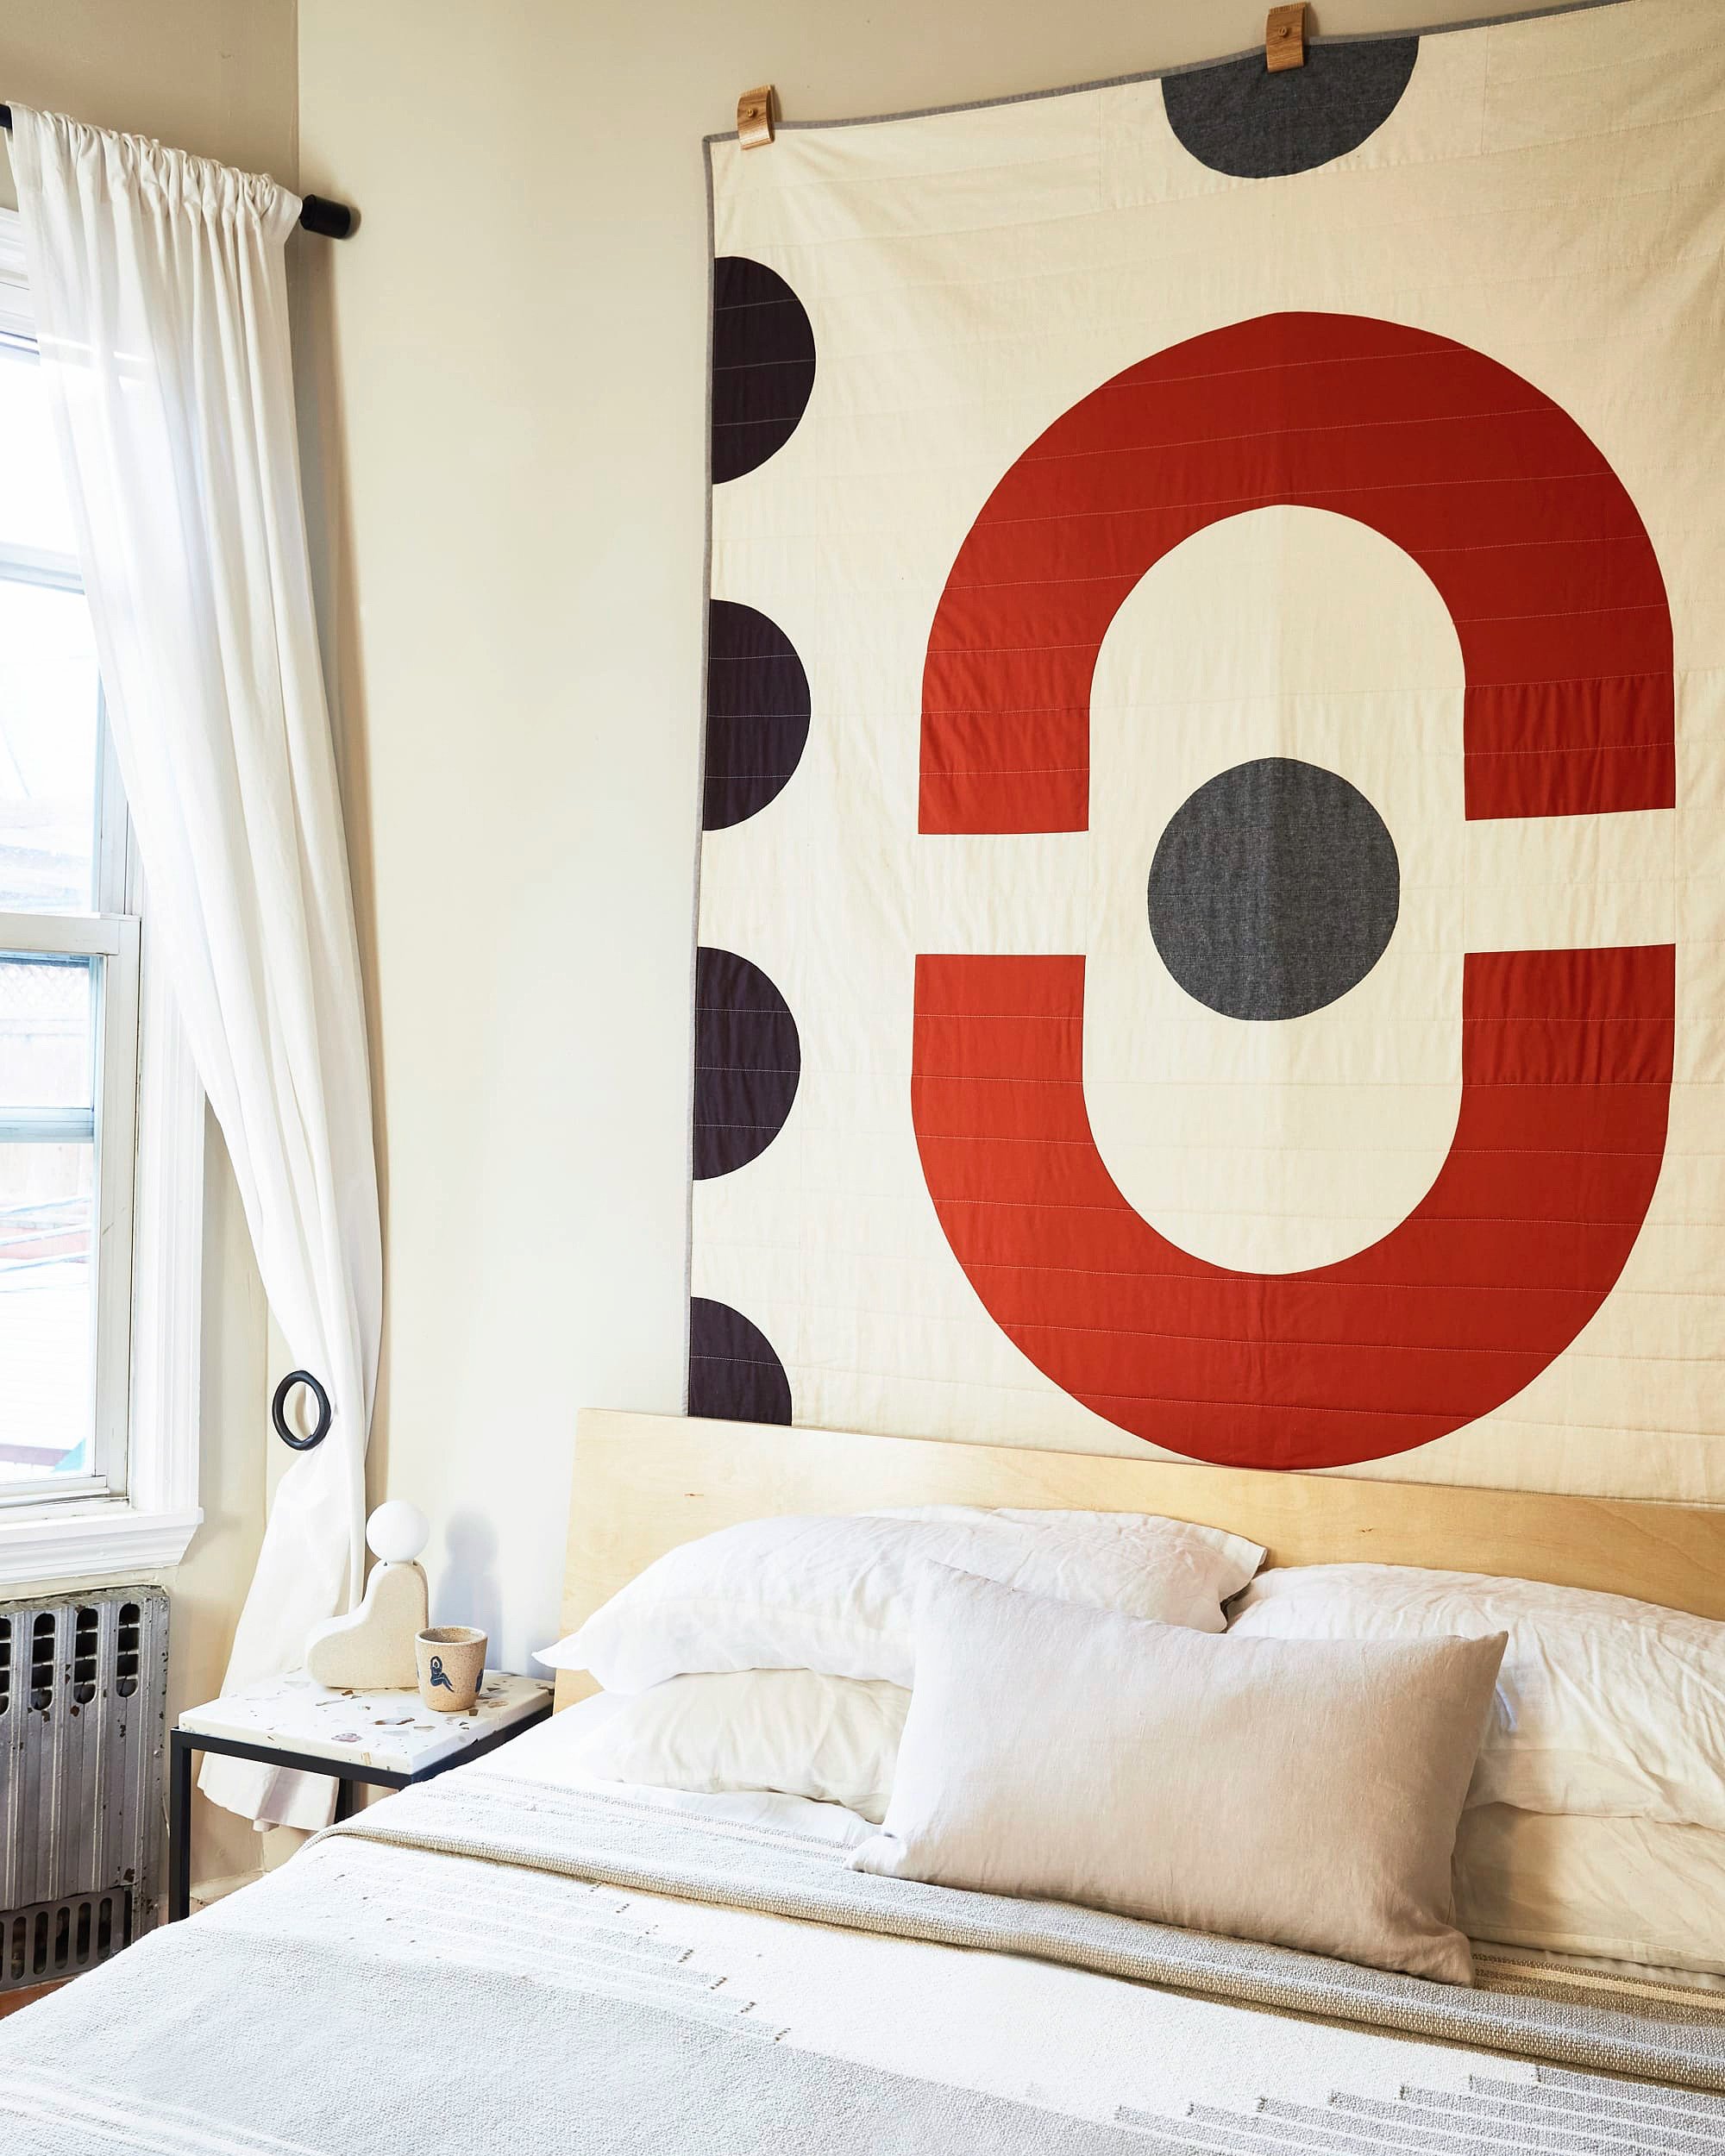
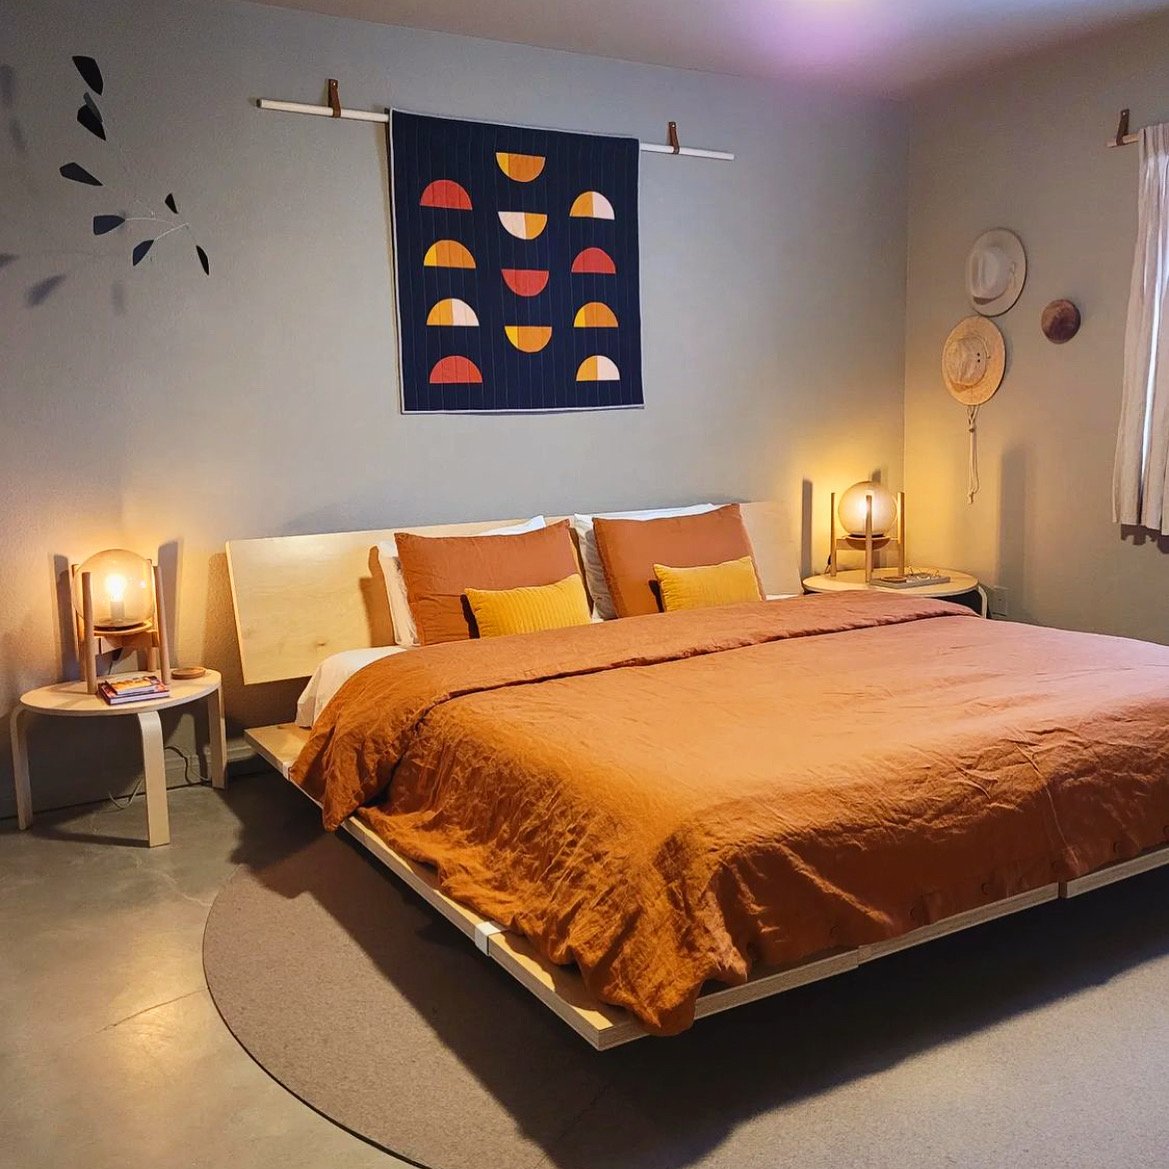
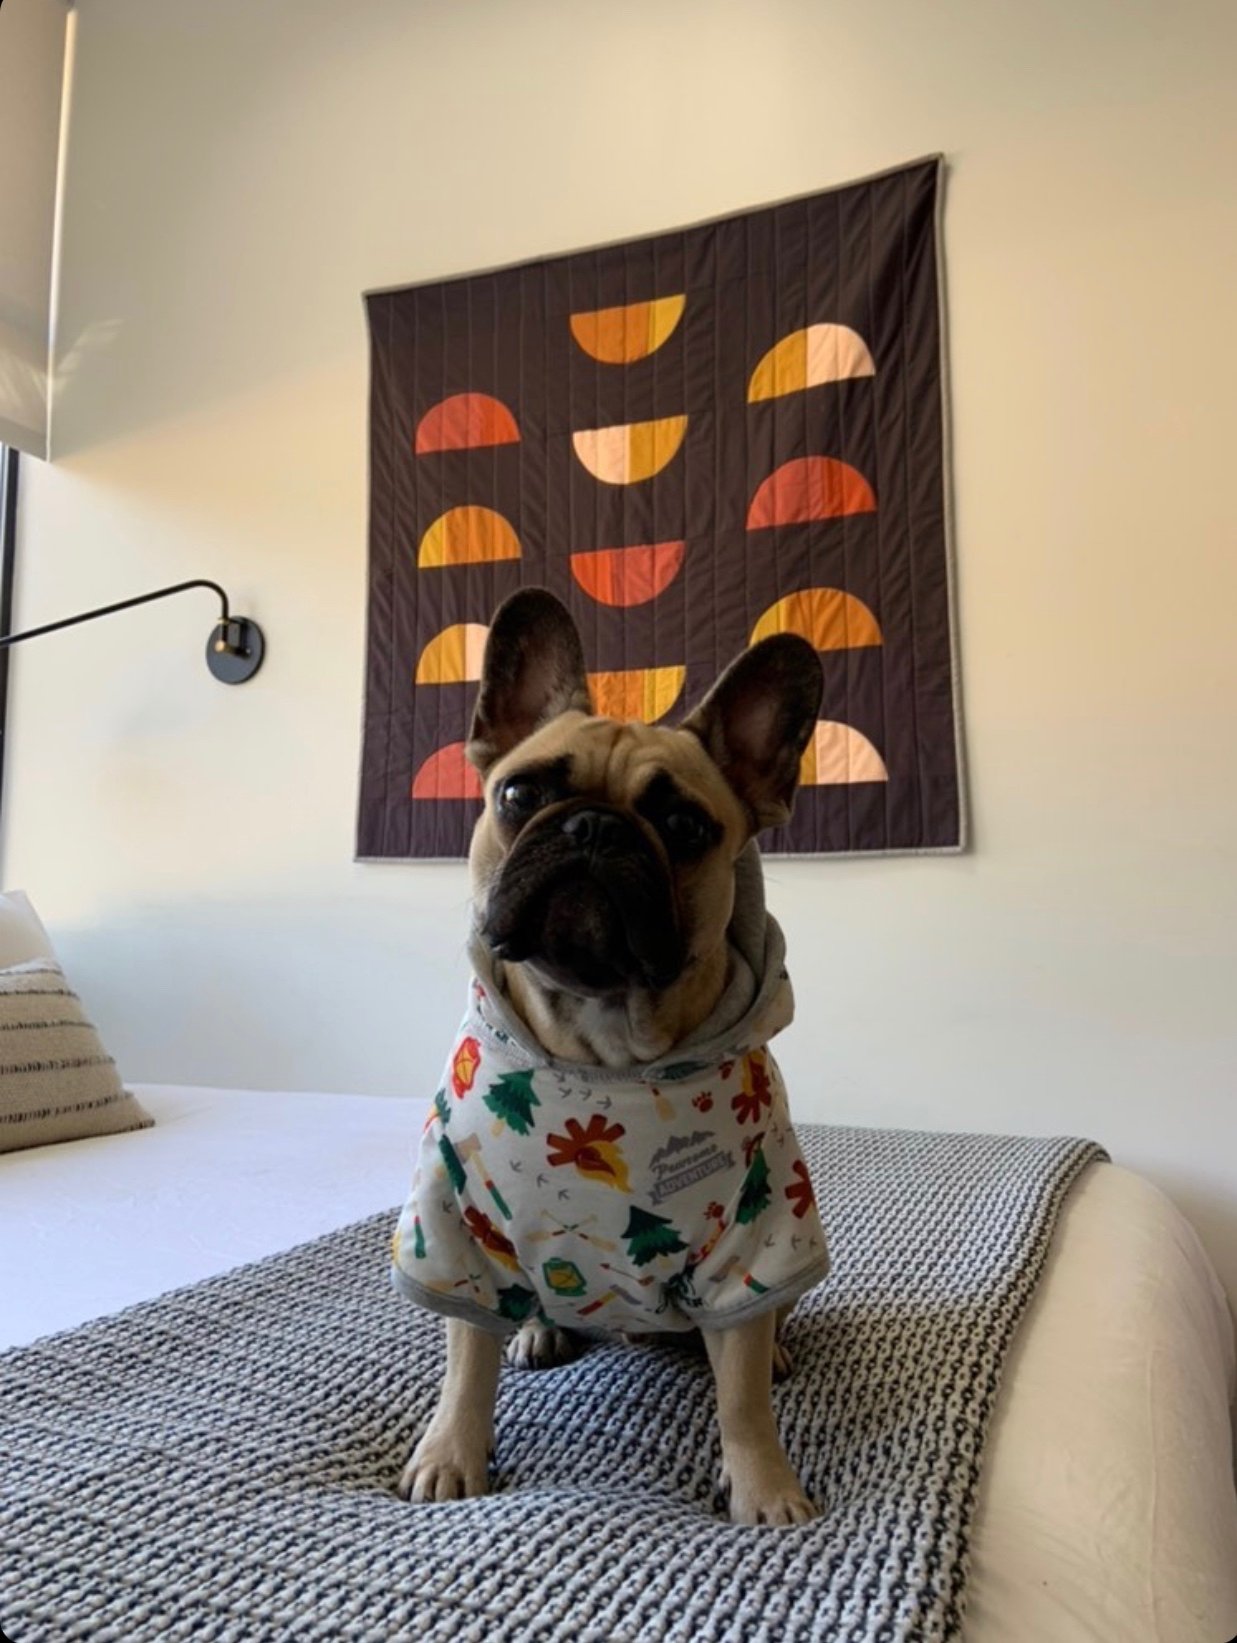
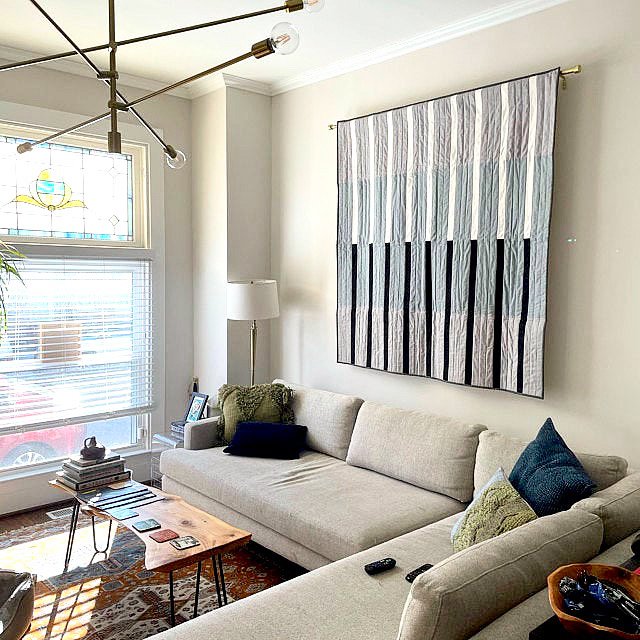
A few of our favorite quilts-as-art from customers and clients